How to really show off your wallpaper
I admit it: With my hunt for nice widescreen wallpapers, and my reviews of DeskLickr and Desktoptopia, I’ve gone wallpaper-mad over the past month. I now have a collection of over 100 gorgeous desktop images, with new ones coming in all the time. Somehow, though, having these beautiful images lurking behind my Mac windows – occasionally revealed with Exposé via the F11 key – doesn’t do them justice.
So how to make my wallpaper more front-and-centre? Ideally I’d like some sort of utility that faded my windows away when I’m not really using my Mac, revealing the wallpaper behind. Then I was hit by an attack of the blindingly obvious: Use a screen saver!
(This tip is not rocket science. But it took me a while to think of using a screen saver, so maybe it’s not that obvious. 😉 )
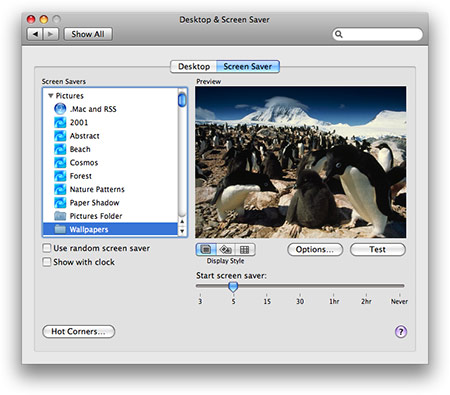
Luckily the Mac ships with the ability to display one or more images as a screen saver. I already had all my wallpaper images stored in a ~/Pictures/Wallpapers folder, so it was just a case of choosing Apple > System Preferences > Desktop & Screen Saver > Screen Saver, then opening up the Pictures screen saver in the left-hand list and clicking Choose Folder. After selecting my Wallpapers folder, it appeared in the list:

And that’s it! I set the screen saver delay to 5 minutes, and now I get to see my lovely wallpaper images in all their glory whenever I come back to my Mac. And because the images are already designed to look great on the desktop, they make for a fantastic screen saver. Simple but effective.
By default you get the old Ken Burns effect on the images; to turn this off click Options, then deselect the Zoom back and forth and Keep slides centred options. Now, when your screen saver kicks in, it’s almost exactly as if your windows have simply faded away. (And your menu bar. And the Dock. And mouse pointer. Err, and any icons you happen to have on your Desktop. But you get my point.)
Mosaic madness
While I’m talking about the Pictures screen saver, there’s an brain-mangling new effect in Leopard called Mosaic. To use it, click the right-most Display Style button:
![]()
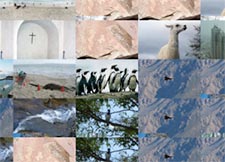
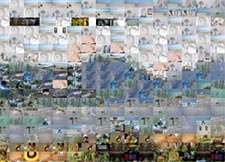
Now the screen saver builds up a mosaic of one of your images using your other images. It then zooms out and does it again. And again. Here’s an example of it in action:


It’s pretty mesmerizing, and if you stare at it for too long, you’ll find your desktop starts bulging out when you return to it! (You may also feel a little sick.) For best results – if your Mac can take it – choose Options and bring Rows up from the default of 60 to 100; this makes the mosaics much clearer.
OK, that’s enough about wallpaper for now – I promise. 🙂


